Wednesday, December 28, 2011

Layout 2 - Pizza: The beginning

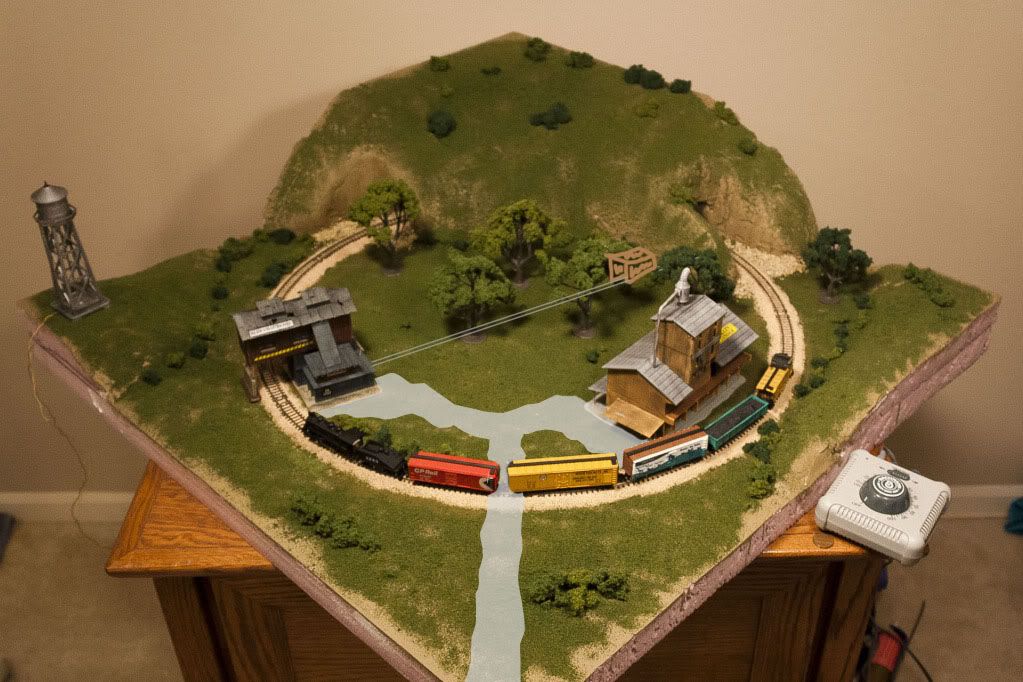
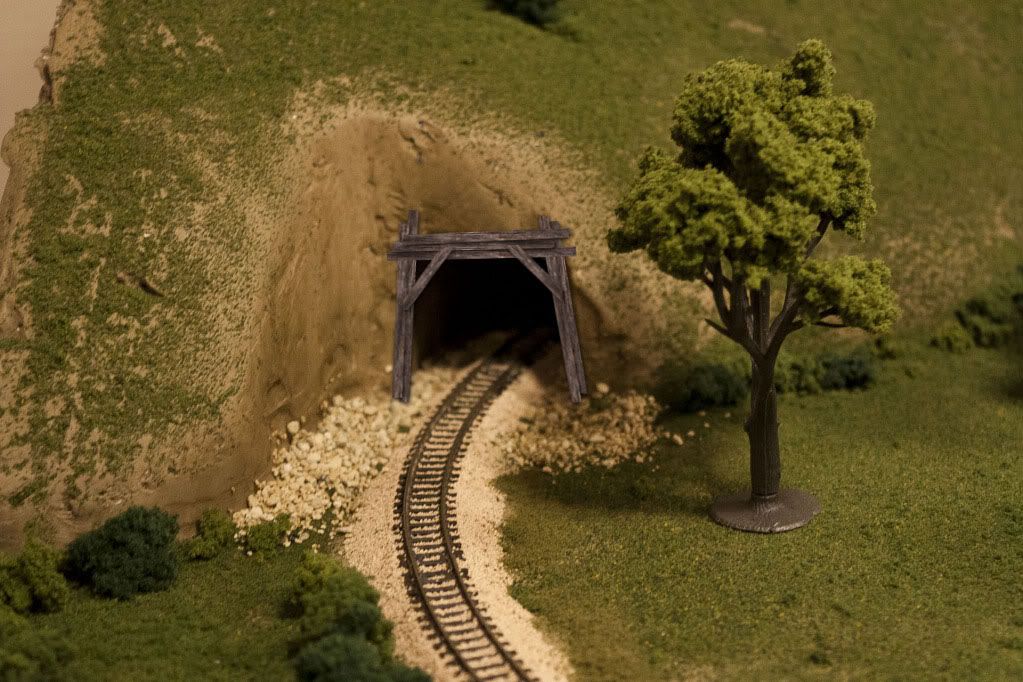
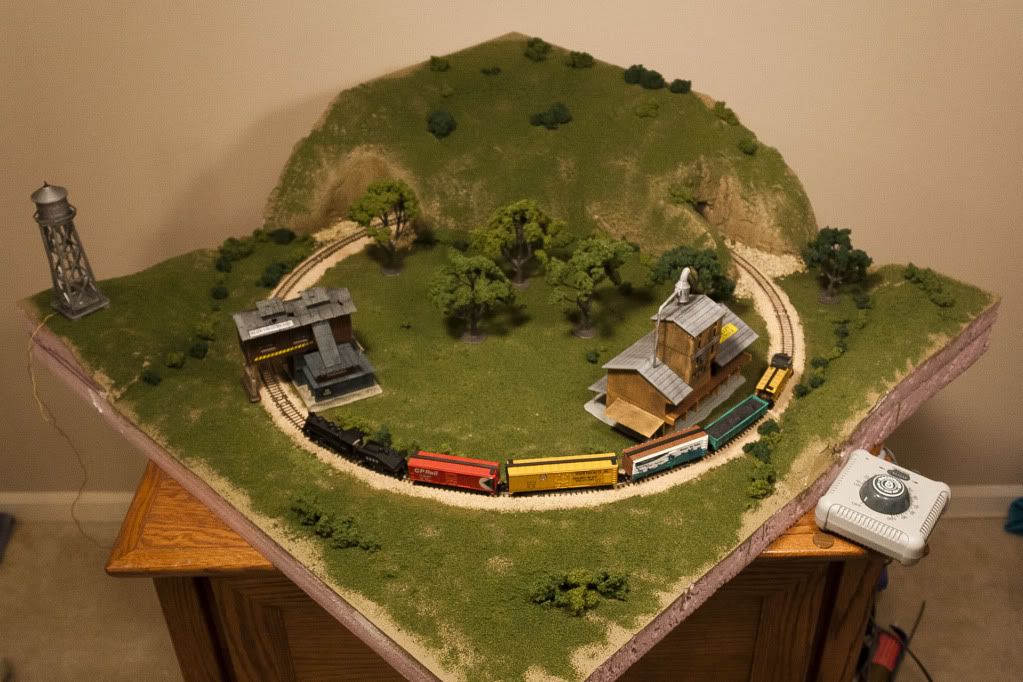
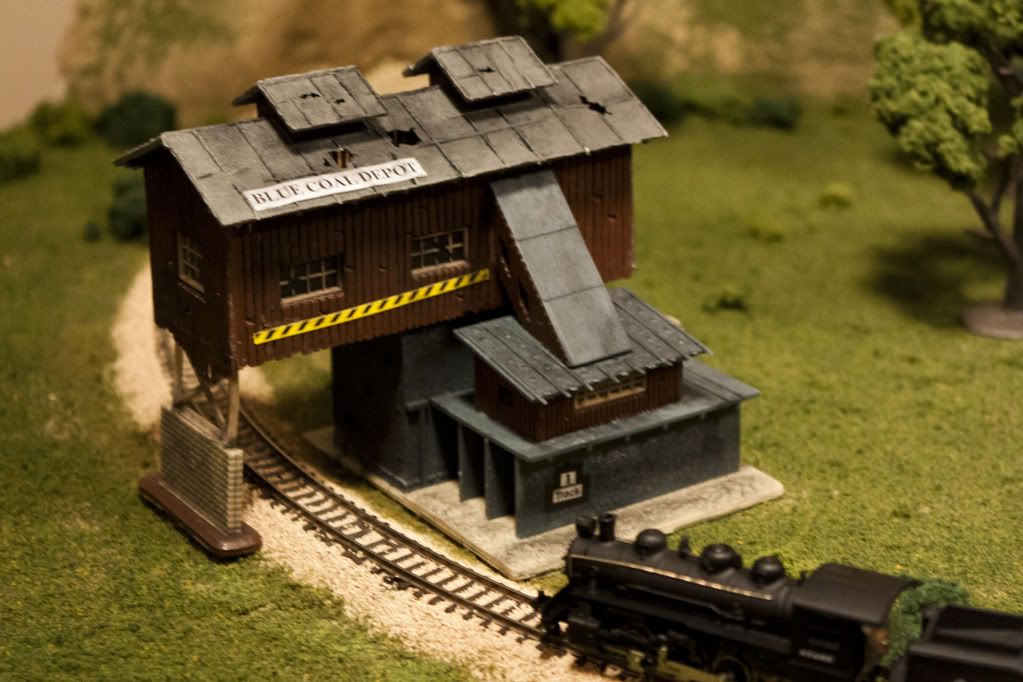
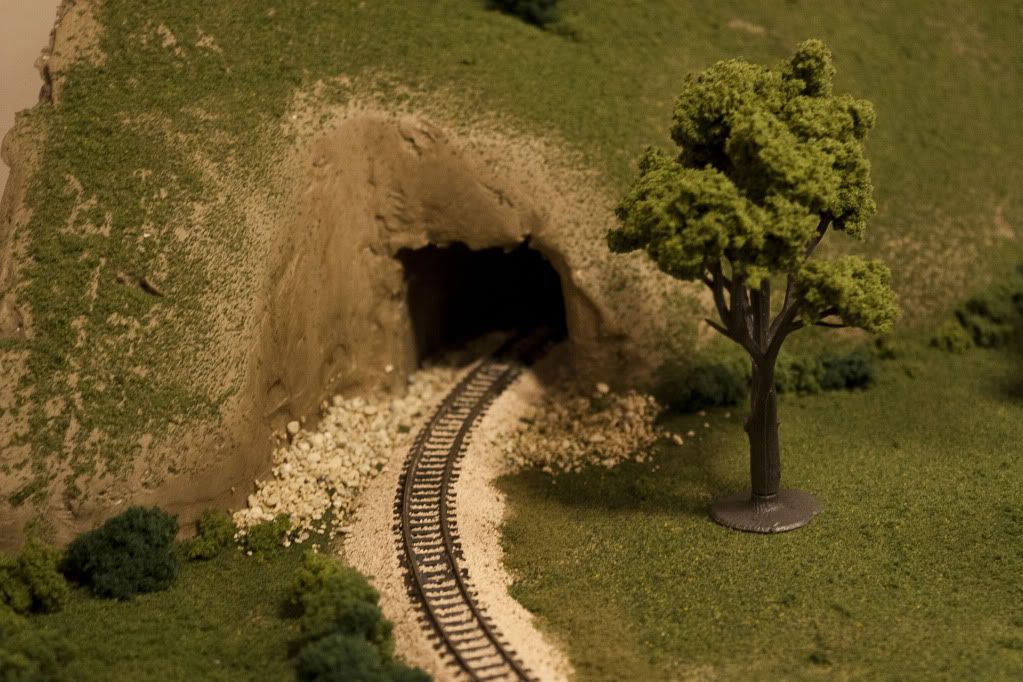
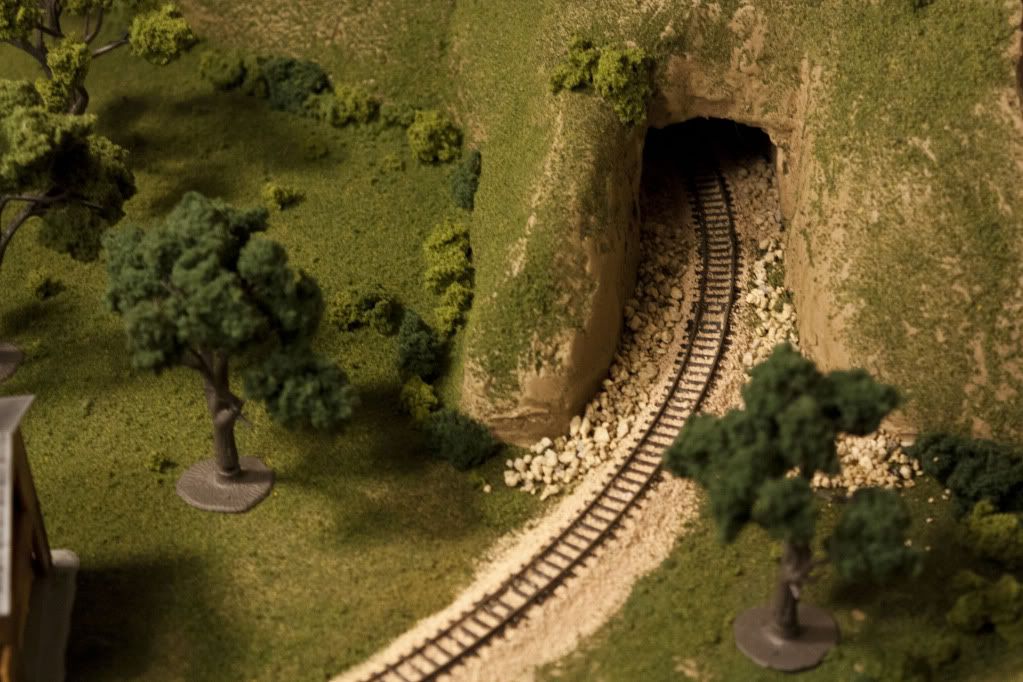
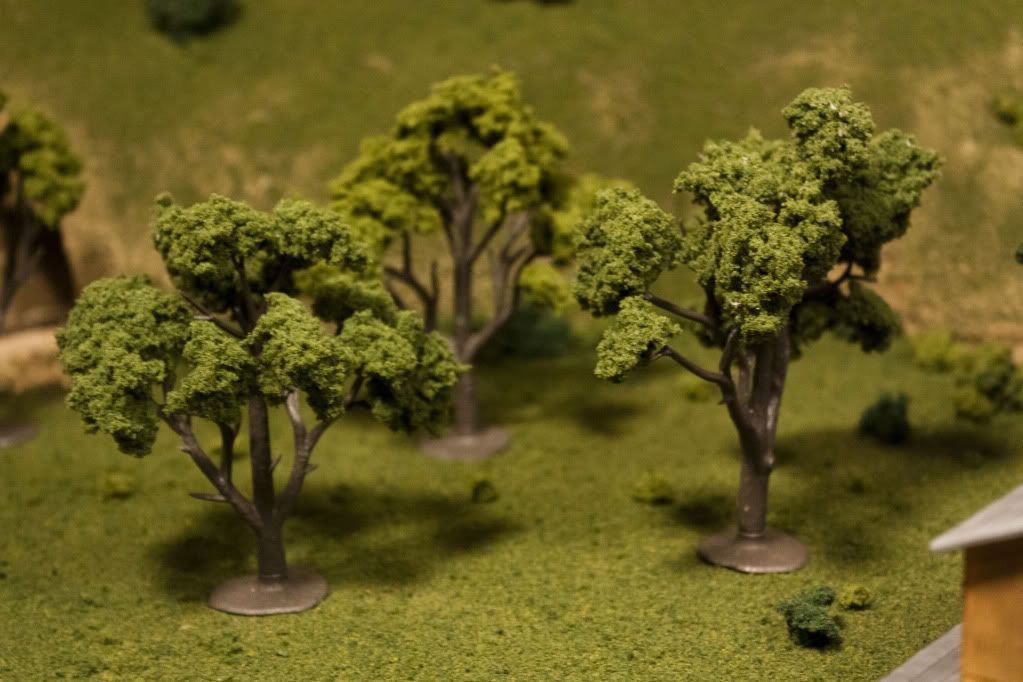
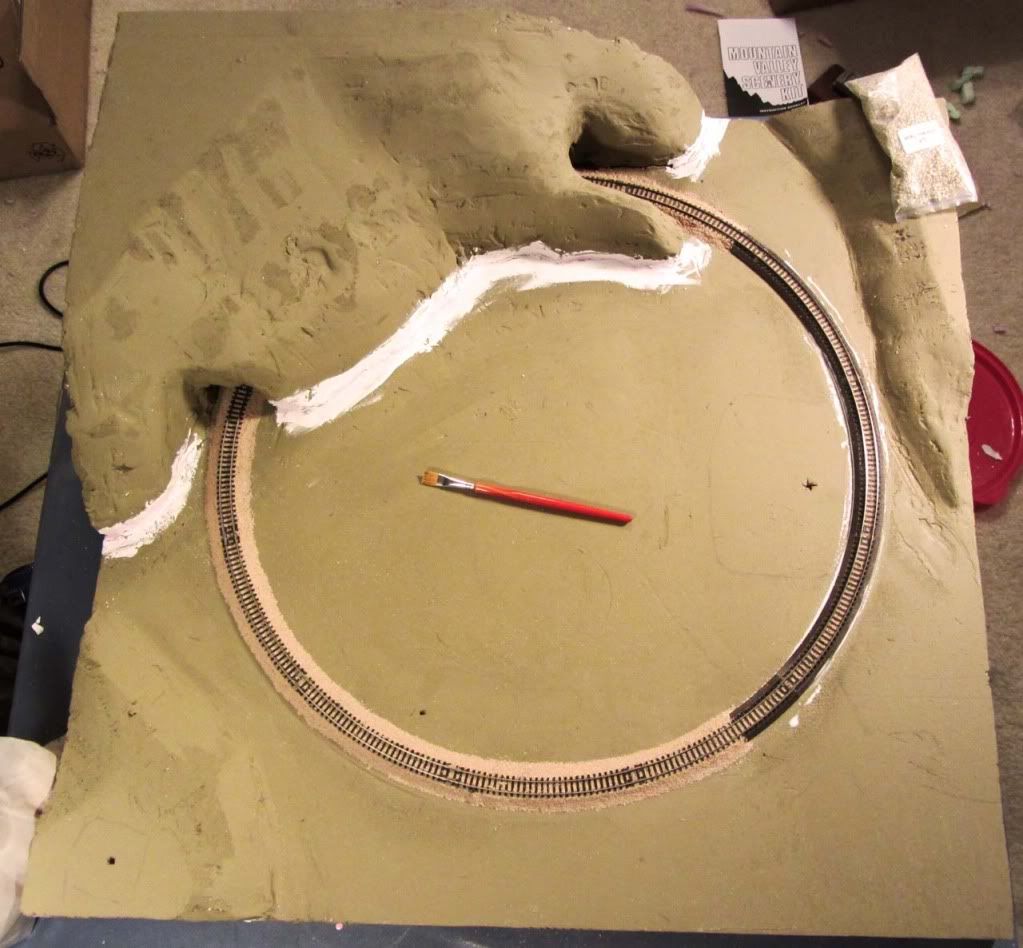
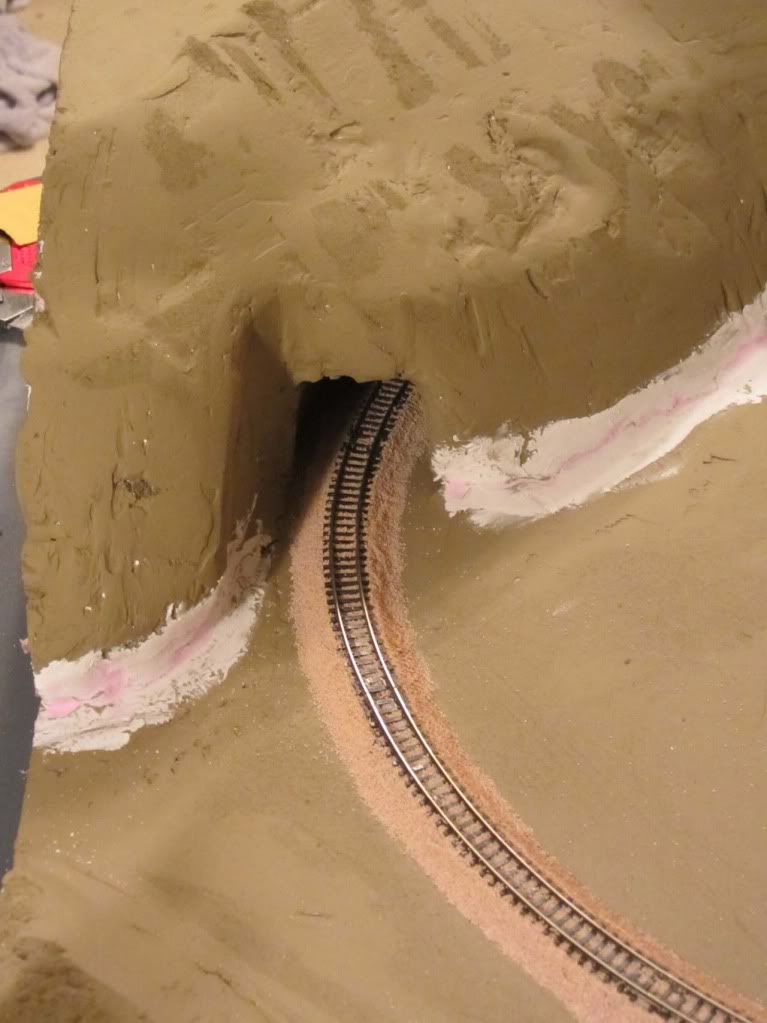
So last night as I was waiting for Rachel to come home from work I went to run my layout a bit. I noticed I had a lot of extra track lying around from the set I won off of ebay, and decided to make another little circle of track and see how well things ran around it. I put it on a spare piece of foam and noticed that the track was the 9.75 radius not 11.25. With that I thought, "Hey I could make a real pizza layout with this and not have to spend a dime..." So I did! I started cutting and carving and ended up with a hill and a pond w/runoff.

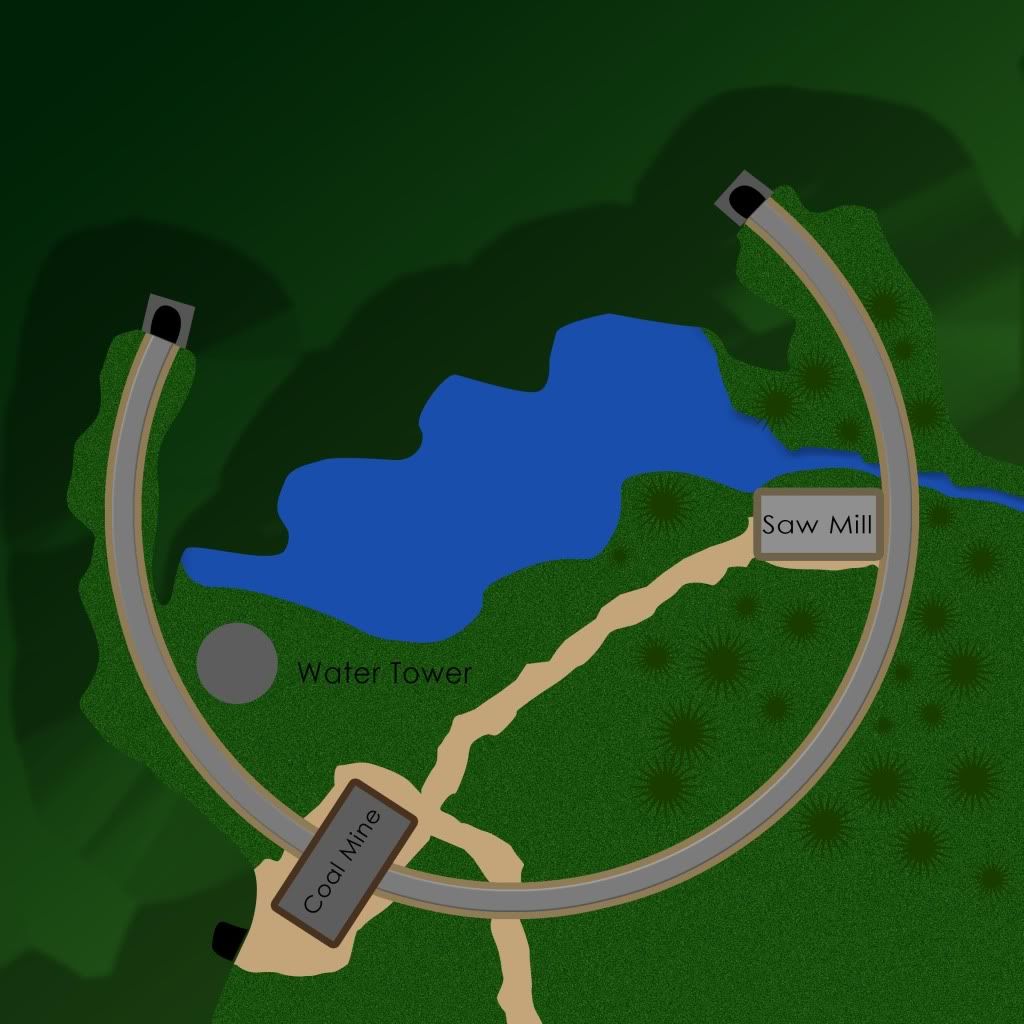
I then put my saw down and decided I should give myself a bit of direction, and made this quick concept.

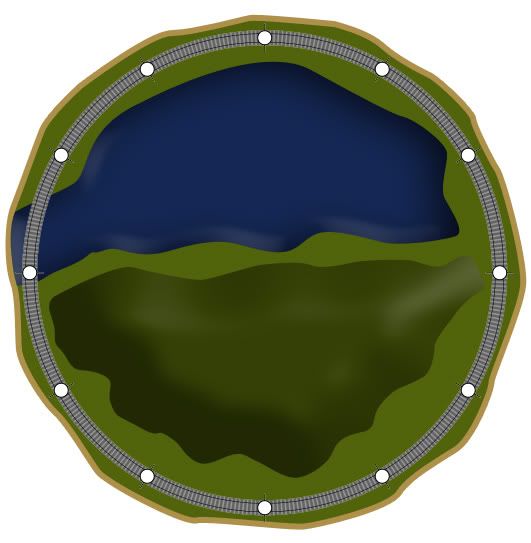
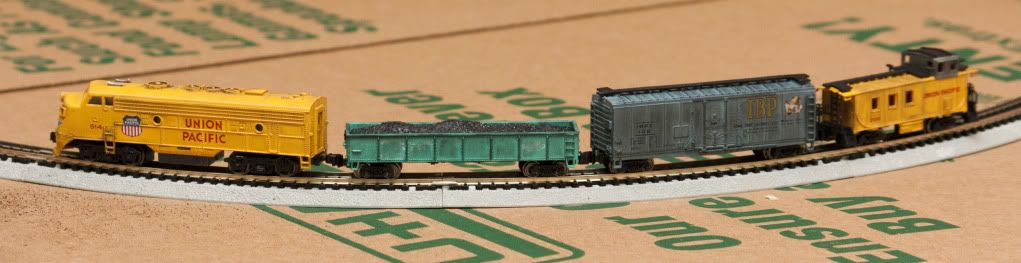
My EMD F9 will run this layout with my box cars. The pond and run off will be just paint at first  until I get some realistic water I will be trying to make the turf look really rough and untended.

Tuesday, December 27, 2011

My First Layout: Ideas an extras

Here is a quick sketch of my final touches to the layout. I have decided to add a mine entrance and a small rail system that will lead to the coal depot. I will just use some rails taken from some of my extra track to create the rail system. it won't actually be a working rail, and I'm still trying to figure out how I am going to create the carts.


after posting my progress on modeltrainforum.com, a contributor mentioned something I had kind of put aside. Tunnel portals. I wanted to build my own and go for a rustic mining feel but never found the information I wanted. I then started doing some backward research, looking up types of wood for small things like doll houses, then how to age them. I finally came to balsa/bass wood and some aging techniques that I think will work really well.

Here are some sample ideas for the tunnel portals


Monday, December 26, 2011

My First Layout: Basic Terrain and Finishing Touches to Come

I have finished my basic terrain as of now. My last steps are blending my buildings into the terrain, adding a dirt road, and then adding other little things like people, animals, cars, signs, and more.

Here are some shots of my progress.


To add my base terrain I first covered my rails with some masking tape, then sprayed down the entire layout with scenic spray. I then sprinkled on a mixed fine green turf. Once I covered the entire layout I added a medium green turf on top to add some depth. I then added bushes, gluing them down with elmers glue. Once I was happy with the base terrain I then sprayed the entire layout with more scenic spray. The trees are just sitting on the layout until I get some more and decide where I want to put them for sure. I still need to get some light grey ballast to add my gravel roads and parking lots.
You may have noticed a new locomotive in the shots above. It is a bachmann 0-6-0 from a Yard Boss set I won off of ebay for a mere $26.


It runs fairly well. I also won a lot of rolling stock that game with a Life Like GP38 that just needed a good cleaning. Now I have 3 descent engines to run on this layout, along with a good amount of rolling stock. I am looking around for a lumber load for this setup. I have 5 coal cars and a handful of box cars/tanks but no lumber loads to match my lumber yard.


Thursday, December 22, 2011

My First Layout: Creating the base and terrain

My layout will be created using extruded foam and spackling. I used a single 4x8 sheet for this layout. For my base I cut a 30"x30" piece of foam, and for the hills I cut the basic shape, then angled the edge that would be on the layout. for my large tunnel mountain I made two identical pieces for the tunnel and two slightly smaller pieces for the top. I cut the area for the track out of the bottom two, and glued them together. i then glued the other pieces on top to top the tunnel, and added small pieces at the ends so the tunnel wasn't so tall.


Once everything was glued together i added spackling to fill in the seams and shape  the mountain. Once it was dry I sanded it down to blend it in to the foam. I then set up my buildings and set to make sure everything looked good to me.


I then remembered something... I had to ballast the track before gluing down the mountain! I proceeded to break them mountain from the base. I then decided this would be a good time to but the earth coat on, so I ran to home depot and got some brown paint. I painted the base and the mountain along with the inside of the tunnel. Once the paint dried I ballasted the track in the tunnel section and put the mountain back on. I used some quick dry drywall patch to blend it back into the base.


My next post will be about my actual terrain, and wiring the buildings for lighting. 

My First Layout: Design and Weathering.

My first layout will be a simple pizza style layout, with two industries and a single mainline circle. it will have a few hills, a large hill with a tunnel through, and a small pond/lake. 

I have created a  rough idea as to what I plan on doing.


Though this was a bit more than I ended up doing I did stick to it fairly well. The water will end up on a hill in the corner and the lake will be just at the base of the hill/mountain. The saw mill is actually now a lumber yard.

Now on to my set. I chose the cheapest N scale set I could find. I was very surprised at how good the set looks and runs. As soon as I got it, i went ahead and aged the loco and rolling stock.


I used artist charcoal and matte clear coat spray paint to complete this task. I turned the drawing charcoal into powder and applied it to the models with a small fan brush. i then used air duster to blow off any extra dust, and then sealed the look with the clear coat. The great thing about the charcoal method is you can easily remove any mistakes before sealing it in.

I also weathered my buildings using the same method.


Weathering really brings out the realism in a model railroad. If your loco and buildings all look brand new, your layout will lose its realism.

In my next post I will go over my method of creating the base and hills for my layout.

Tuesday, December 13, 2011

Introduction

Hello,

This blog will be were I take note of my journey through the stages of creating my first model railroad, from start to finish.

My first model railroad will be an extremely simple N scale layout consisting of a 24" circle of track, a mountain, a few hills, a lake/pond, and a few buildings. The total dimensions of this layout will be 30"x30".

The train set I used for this project was the Highballer set from Bachmann. I used 1-1/2 inch foam insulation board as the base, and also used it for the hills and mountain with the tunnel.

I have 3 structures for my layout, a water tower, a coal mine, and a lumber yard. The water tower will be up on one of the side hills, the coal mine will on the rail, and the lumber yard on the other side of the layout.